Thermal
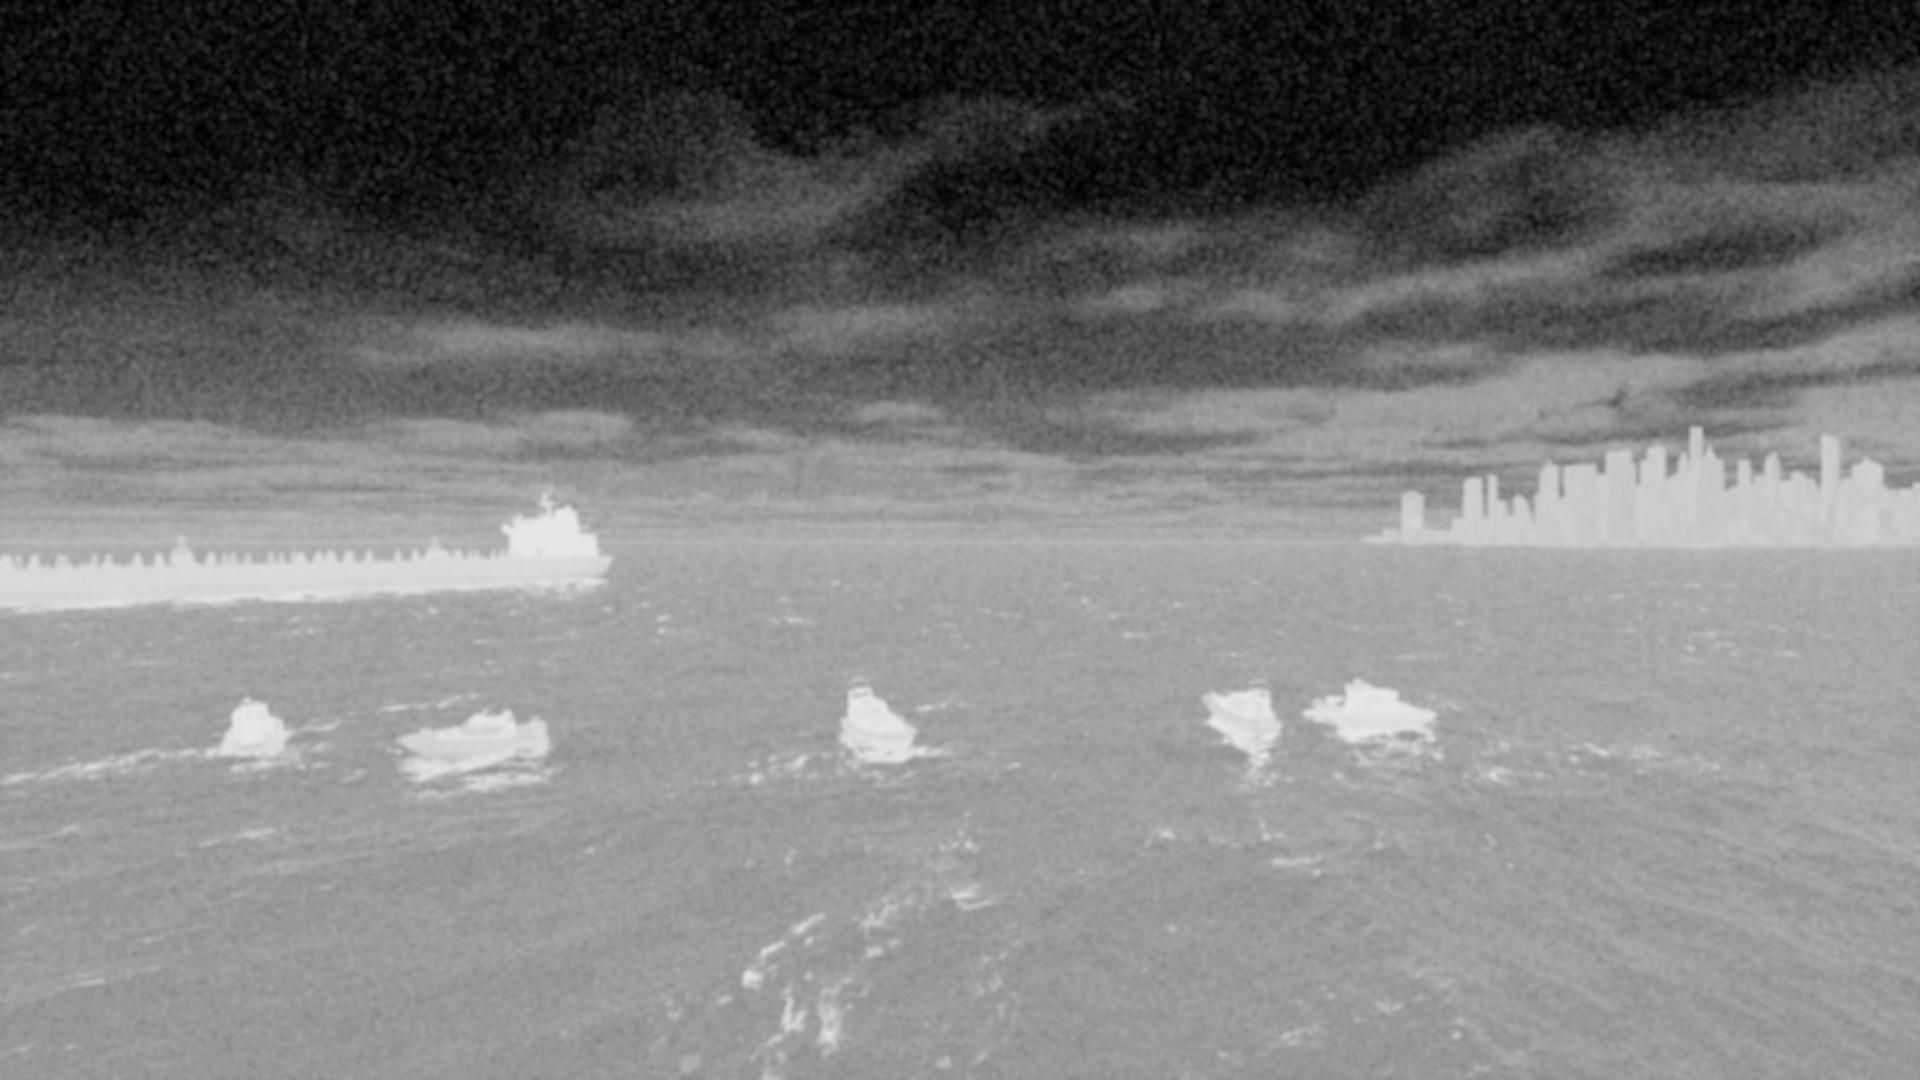
This guide walks you through the process of generating simulated thermal images in Stardust. You’ll learn how to enable thermal mode, configure thermal settings, and render high-quality thermal outputs for your scenes.
You can copy and paste the code snippets from this guide, or download the 📓 Example Thermal Notebook to follow along.
Enabling Thermal Mode
Before configuring any scene settings, ensure that Thermal Mode is enabled. This allows you to preview changes directly in the viewport so that adjustments to thermal parameters are reflected in real time.
For more realistic thermal artifacts, apply the high_noise_thermal sensor preset.
This preset provides a strong baseline, adding post-processing effects that emulate the visual characteristics of real thermal sensors.
Don’t worry if the preset does not look exactly like your reference imagery, the parameters can be refined and
we will go through that in the next section.
world.camera.set_thermal_mode(True)
world.camera.set_preset("high_noise_thermal")
Configuring Thermal Settings
All thermal parameters are normalized between 0 and 1.
For temperature, this range does not map to any real-world temperature scale. Instead, it represents a relative intensity scale, where 0 corresponds to the coldest state and 1 to the hottest state. This scale applies consistently across both assets and the environmental elements.
Camera & Environment
A complete list of environment related thermal controls is available in camera.thermal.
For most use cases, start by adjusting the following parameters, these are typically sufficient to achieve good results. Each method controls the relative temperature of environmental elements and should be tuned based on your scene’s conditions.
world.camera.thermal.set_sky_temperature(0.3)
world.camera.thermal.set_ocean_temperature(0.2)
world.camera.thermal.set_sky_transition_point(0.2)
To further refine the overall look of the thermal scene, adjust the camera.post_processing settings.
These parameters control the visual presentation of the rendered image and can be tuned to achieve the desired thermal appearance for your use case.
world.camera.post_processing.set_blur(0.2)
world.camera.post_processing.set_film_grain_amount(0.3)
world.camera.post_processing.set_film_grain_scale(0.4)
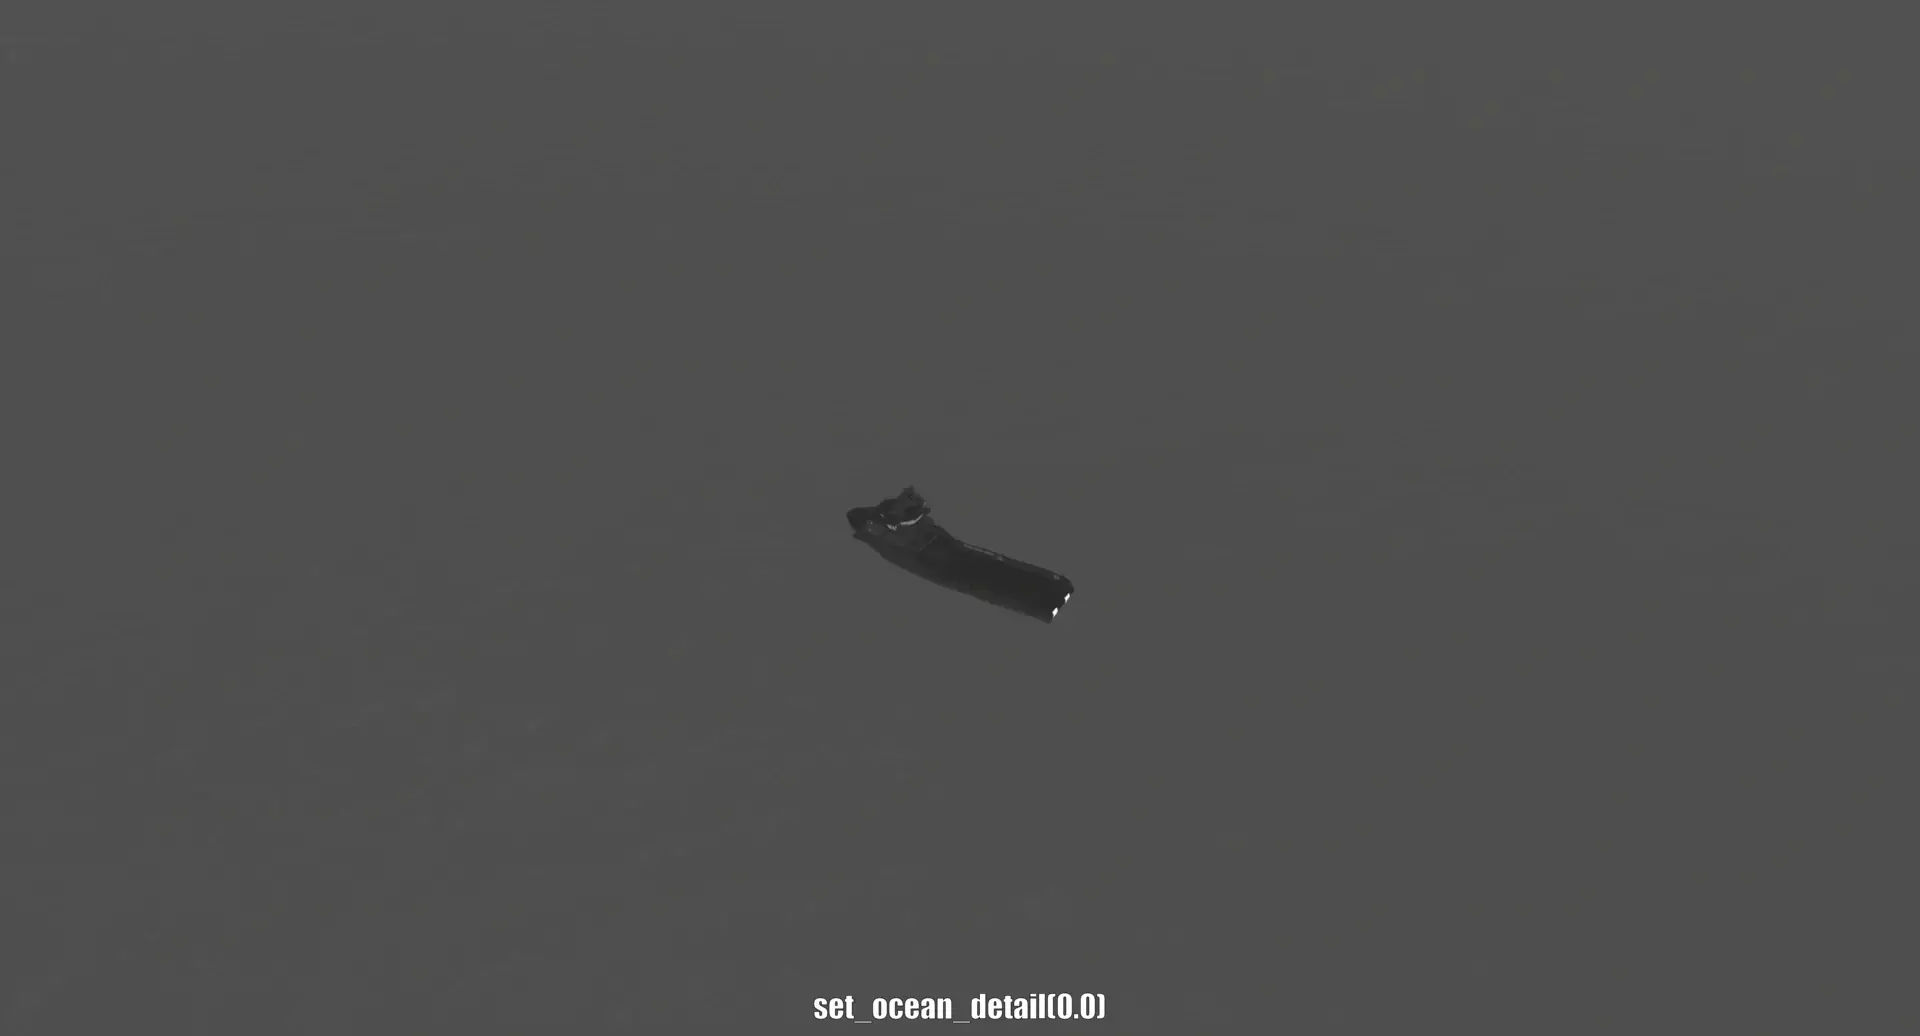
Ocean detail in thermal view
Use set_ocean_detail to adjust how much ocean surface detail is visible in thermal view.
Lower values result in a smooth, uniform ocean, while higher values introduce increased texture and variation.
Warning
When ocean surface variation is increased, small local differences are introduced across the water surface. As a result, the temperature value may slightly deviate from the idealized intensity scale.
world.camera.thermal.set_ocean_detail(0.5)
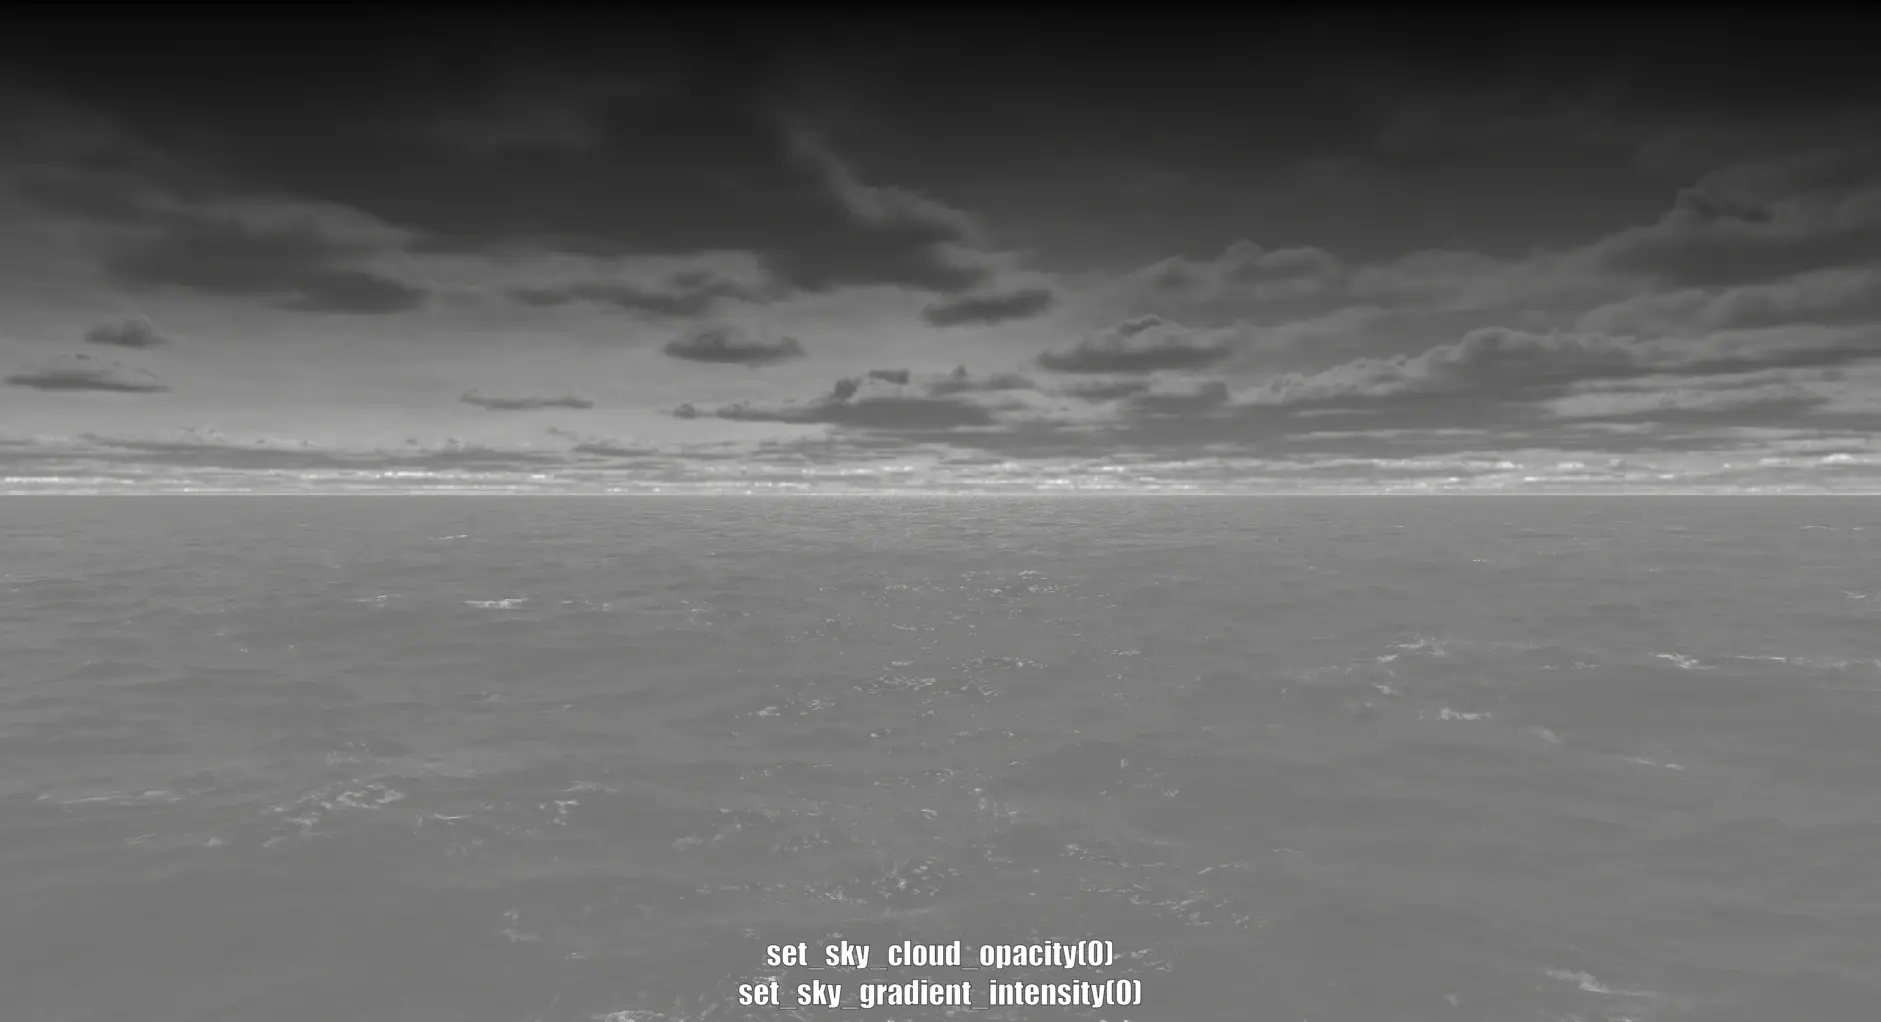
Sky cloud opacity in thermal view
Use set_sky_cloud_opacity to control how visible clouds are in the sky in thermal view.
A value of 0 makes clouds fully transparent; a value of 1 makes them fully visible.
This setting applies on top of the sky gradient, so you can keep clouds visible even when using a gradient.
world.camera.thermal.set_sky_cloud_opacity(0.6)
The animation below shows sky cloud opacity fixed at 1.0 while the sky gradient is varied from 0 to 1, illustrating how cloud visibility interacts with the gradient.
Assets
Thermal properties of assets can be configured through the asset's thermal property module.
For individual assets, call the thermal configuration methods directly on the asset instance.
For assets spawned through spawnzones, use the post_spawn_hook method.
asset.thermal.set_temperature(0.7)
asset.thermal.set_glass_brightness(0.7)
asset.thermal.set_reflectivity(0.3)
Note
Changing the thermal property of an asset spawned from Spawnzones requires a post-spawn hook.
This functionality is available in SpawnZoneV2 but not in SpawnZone.
# import necessary classes
from bbi.experimental import SpawningStrategy, SpawnZoneV2

# define a custom spawning strategy and set post_spawn_hook
class MySpawningStrategy(SpawningStrategy):
    def __init__(
        self,
        area: Polygon,
        asset_list: list[str],
        temperature_range: tuple[float, float],
    ):
        self.area = area
        self.asset_list = asset_list
        self.temperature_range = temperature_range

    def asset_factory(self) -> Asset:
        return BuoyantAsset(
            SpawningStrategy.NODE_ID_PLACEHOLDER,
            asset_name=rng.choice(self.asset_list)
        )

    def placement_strategy(self) -> Transform:
        random_position = self.area.uniform_random_points(1)[0]
        random_rotation = Vector3(0, 0, rng.uniform(0, 360))
        return Transform(random_position, random_rotation)

    def post_spawn_hook(self, asset: Asset) -> None:
        temperature = rng.uniform(*self.temperature_range)
        asset.thermal.set_temperature(temperature)
        asset.thermal.set_glass_brightness(temperature)
        asset.thermal.set_reflectivity(0.3)

# create a spawnzone with the custom spawning strategy
spawnzone = SpawnZoneV2(
    node_id="spawnzone",
    spawning_strategy=MySpawningStrategy(
        area=spawn_area,
        asset_list=["..."],
        temperature_range=(0.4, 1.0)
    ),
    quantity=5,
)
Render
Once your scene is configured, render it with thermal parameters enabled.
scenario.render(params=RenderParams.Thermal())
When you download the generated images, thermal images in the ZIP file will be prefixed with Thermal_.
Note
The current API does not support independent camera settings for RGB and Thermal modes. As a result, simultaneous RGB and Thermal rendering is not supported at this time.
To obtain both RGB and Thermal outputs from the same scene, perform two separate renders. Switch the camera settings between each render.
This limitation will be resolved in a future release.