 Bifrost Docs
Using Neural Rendering
This page walks you through applying Neural Rendering to a dataset you have already generated, from opening the tool to generating new collections.
Opening the Neural Rendering Tool
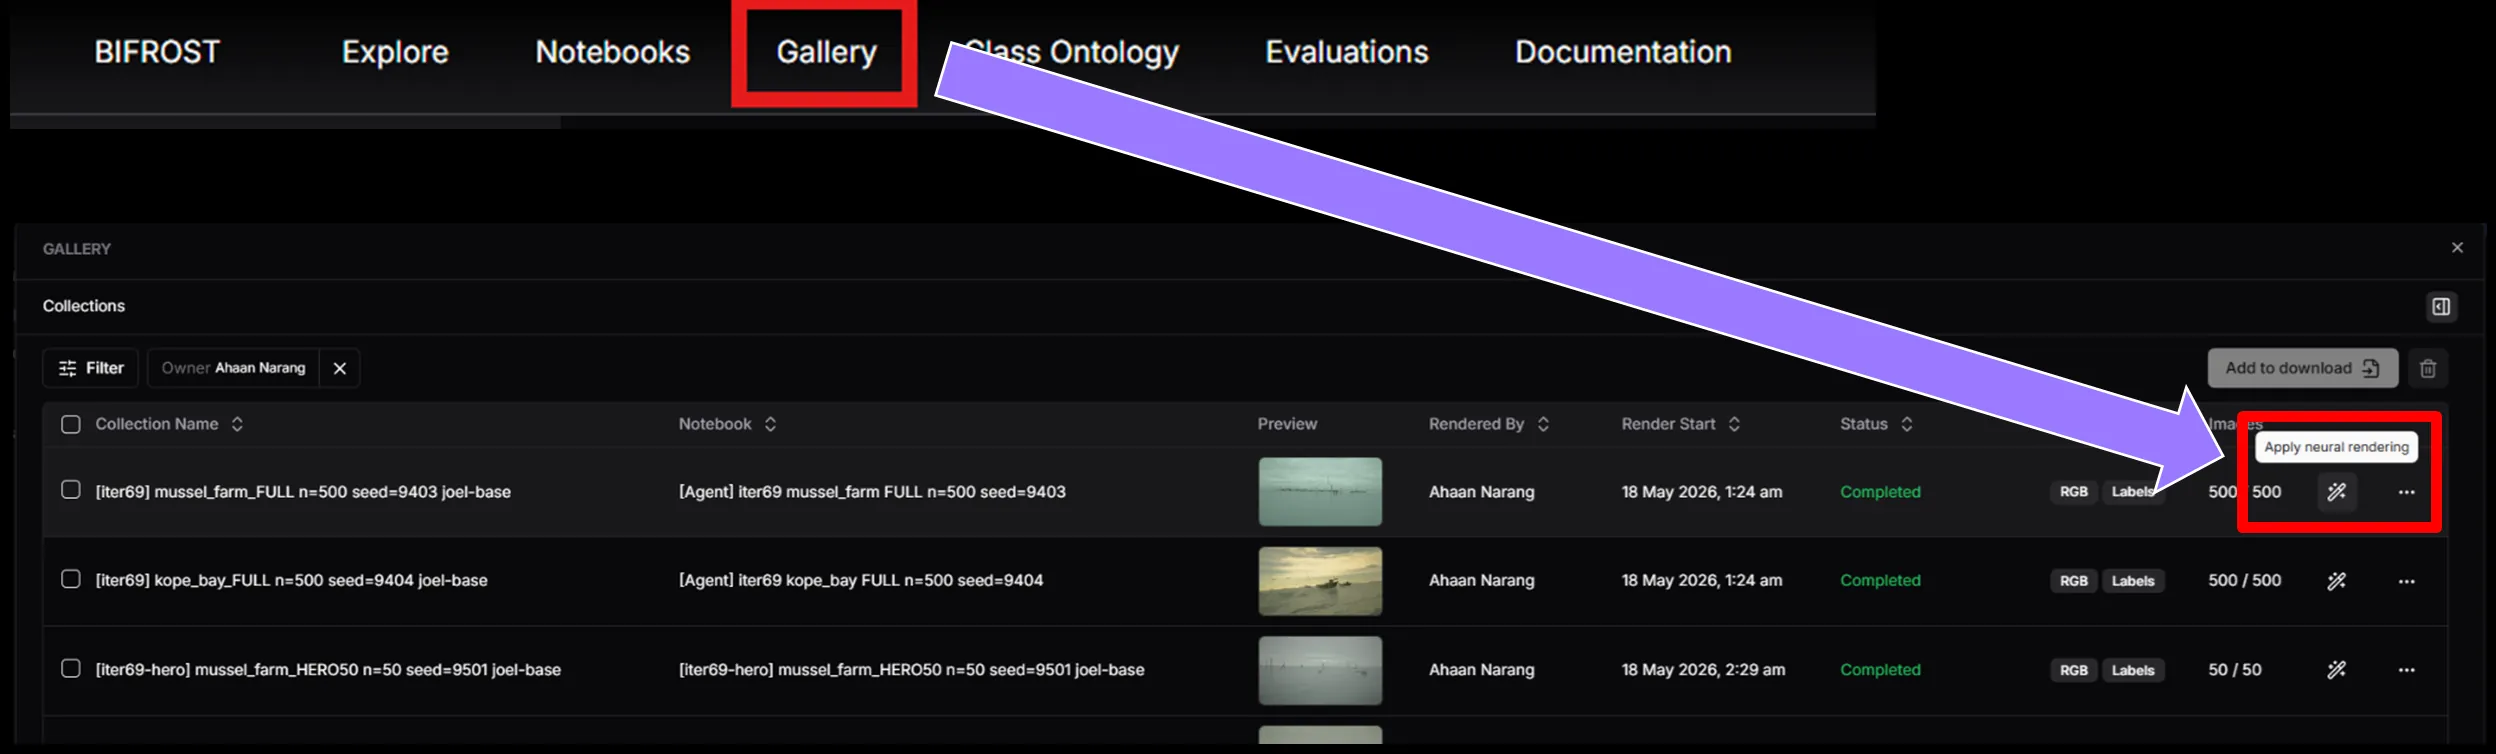
After generating a dataset, head to the Gallery and click the magic wand icon (Apply neural rendering) on a collection.
Testing Prompts
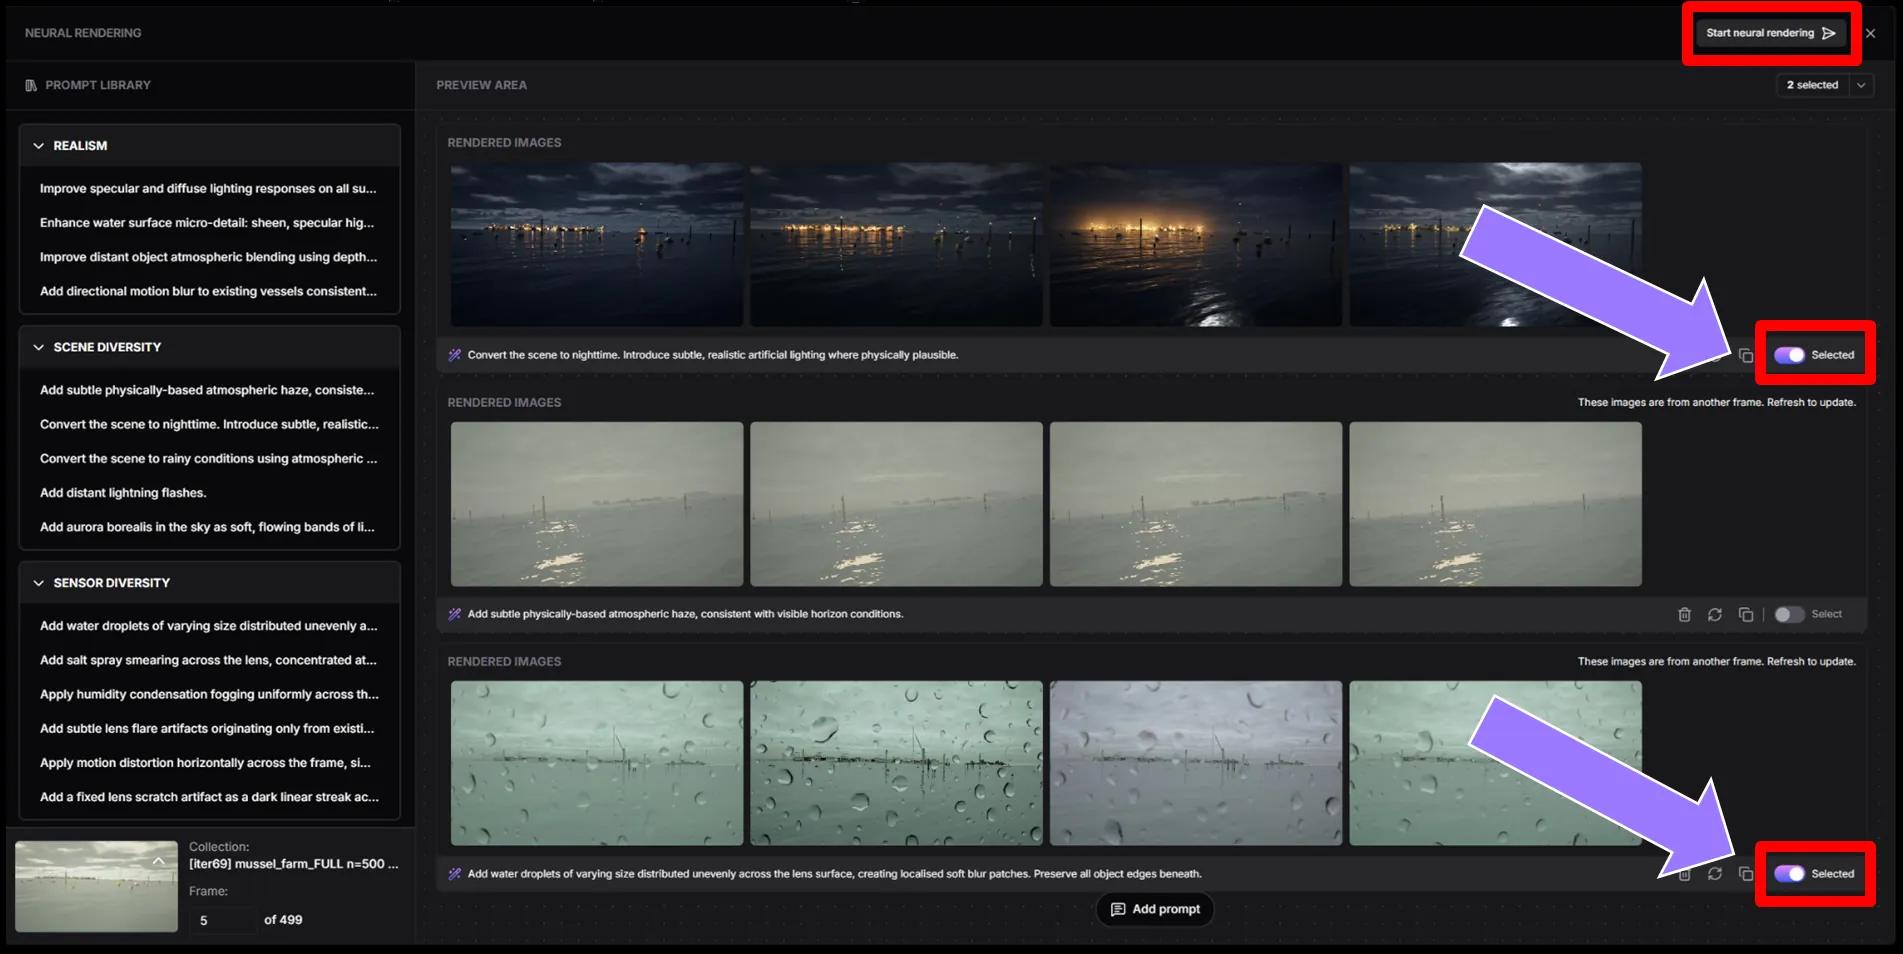
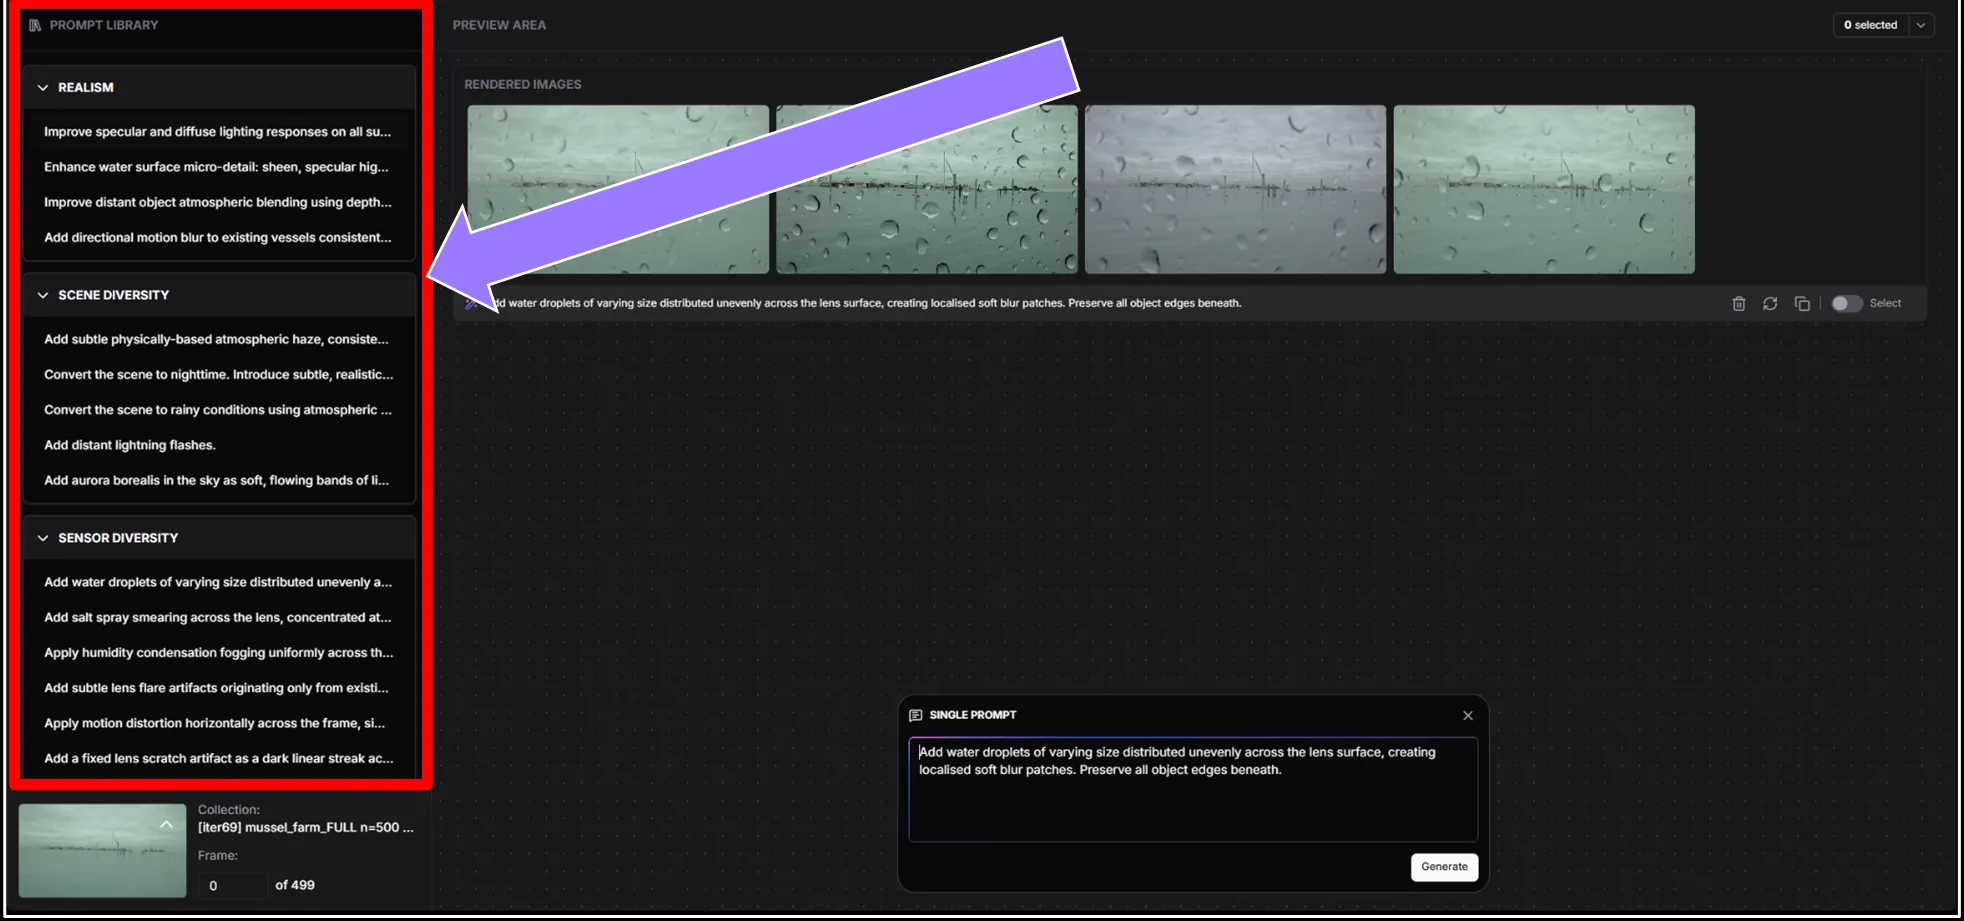
The magic wand brings you to the NR playground. The prompt library on the left contains curated prompts you can use to test Neural Rendering with.
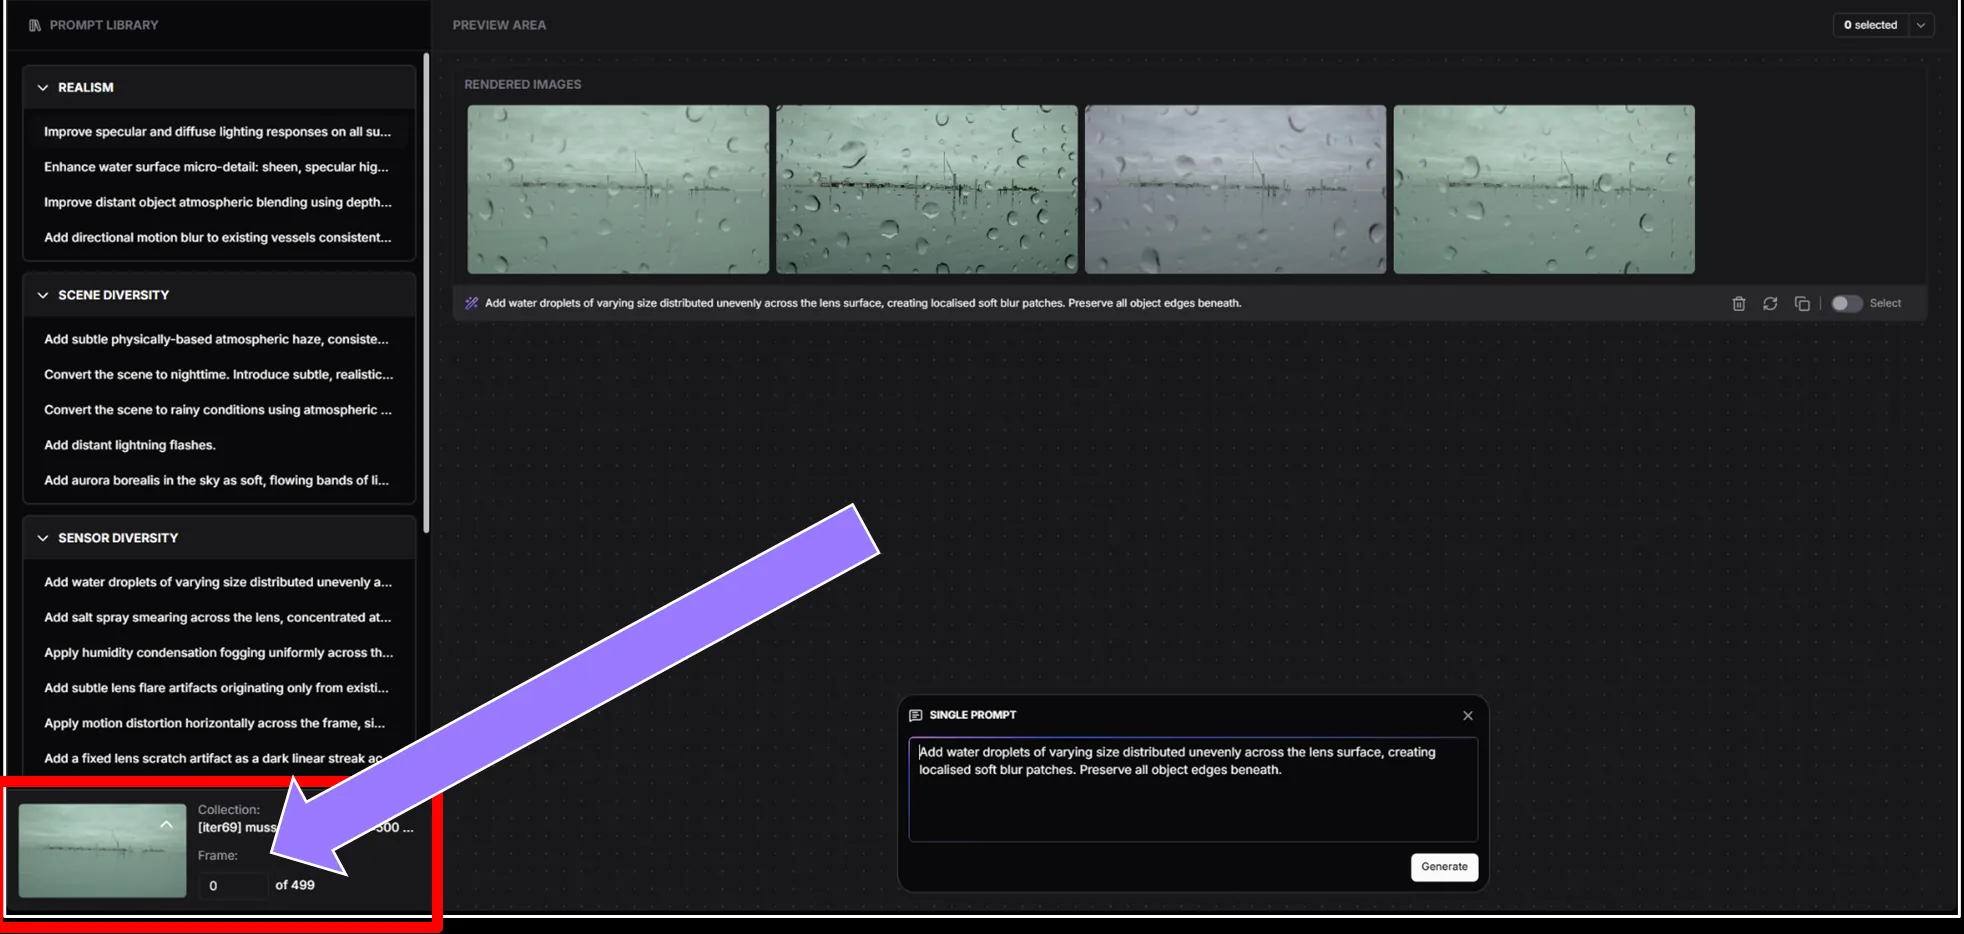
Use the frame field at the bottom of the prompt library panel to apply NR to a specific frame in the preview.
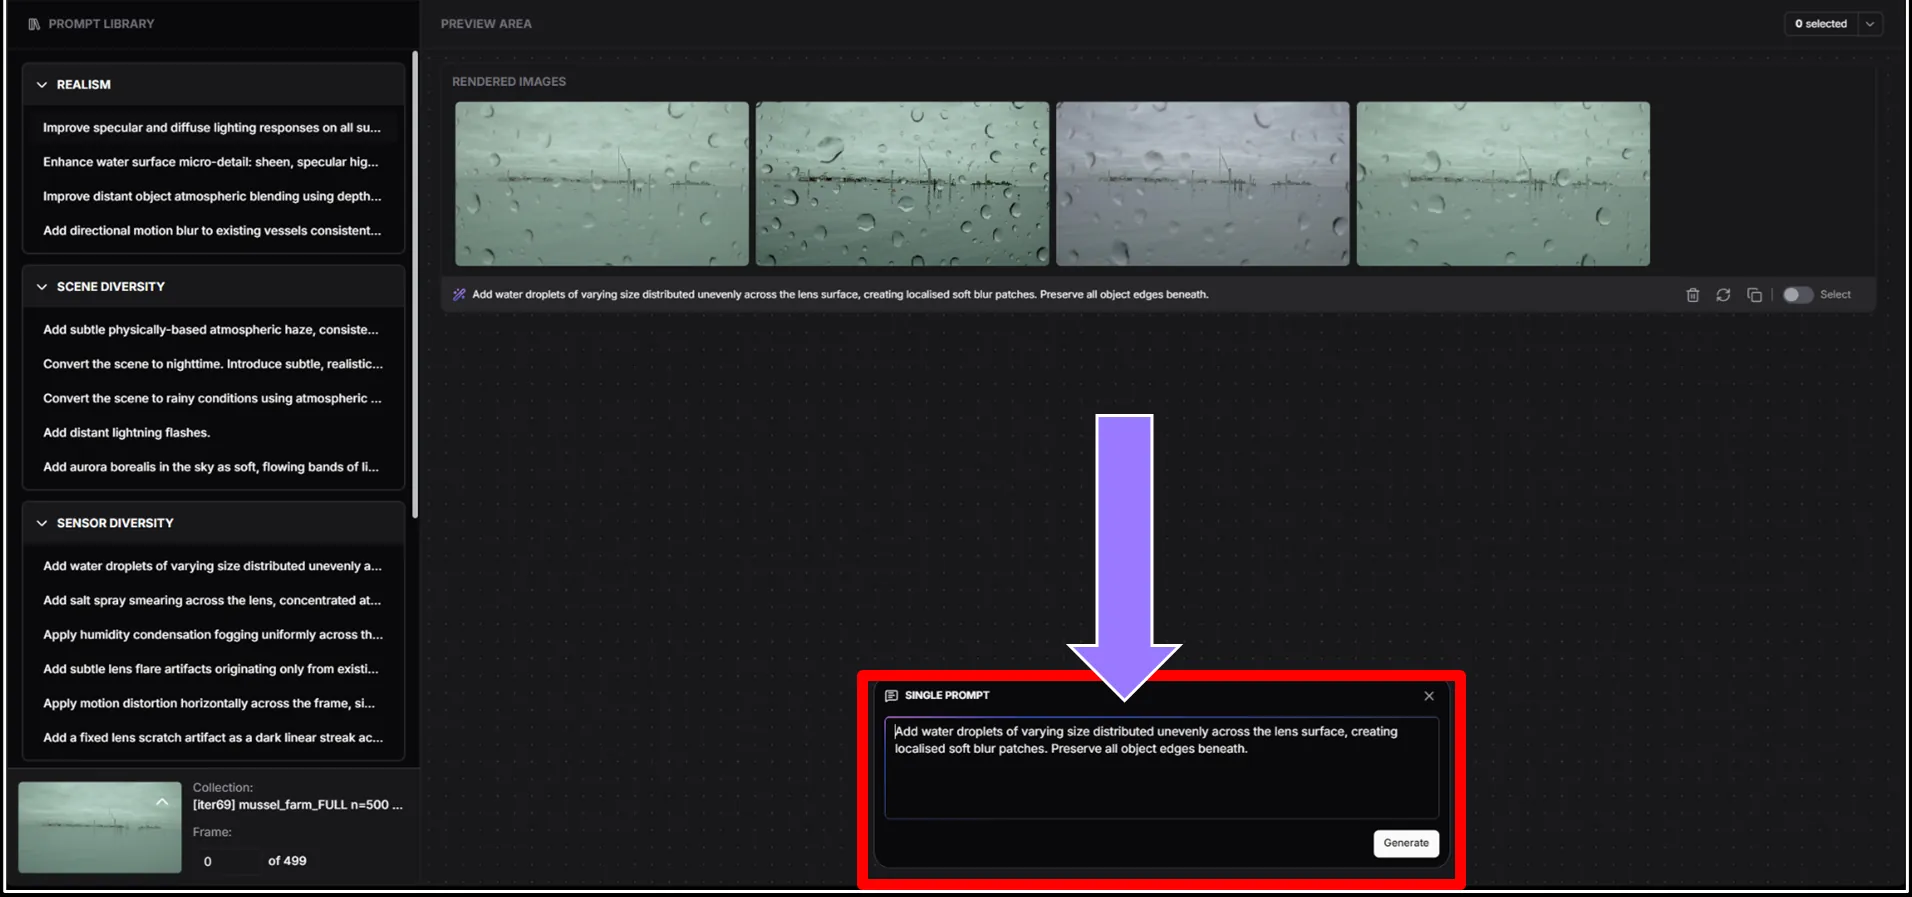
You can also modify the base prompt in the prompt box. See Prompting for Higher Success Rates for tips on writing prompts that generate consistent results.
Checking Consistency
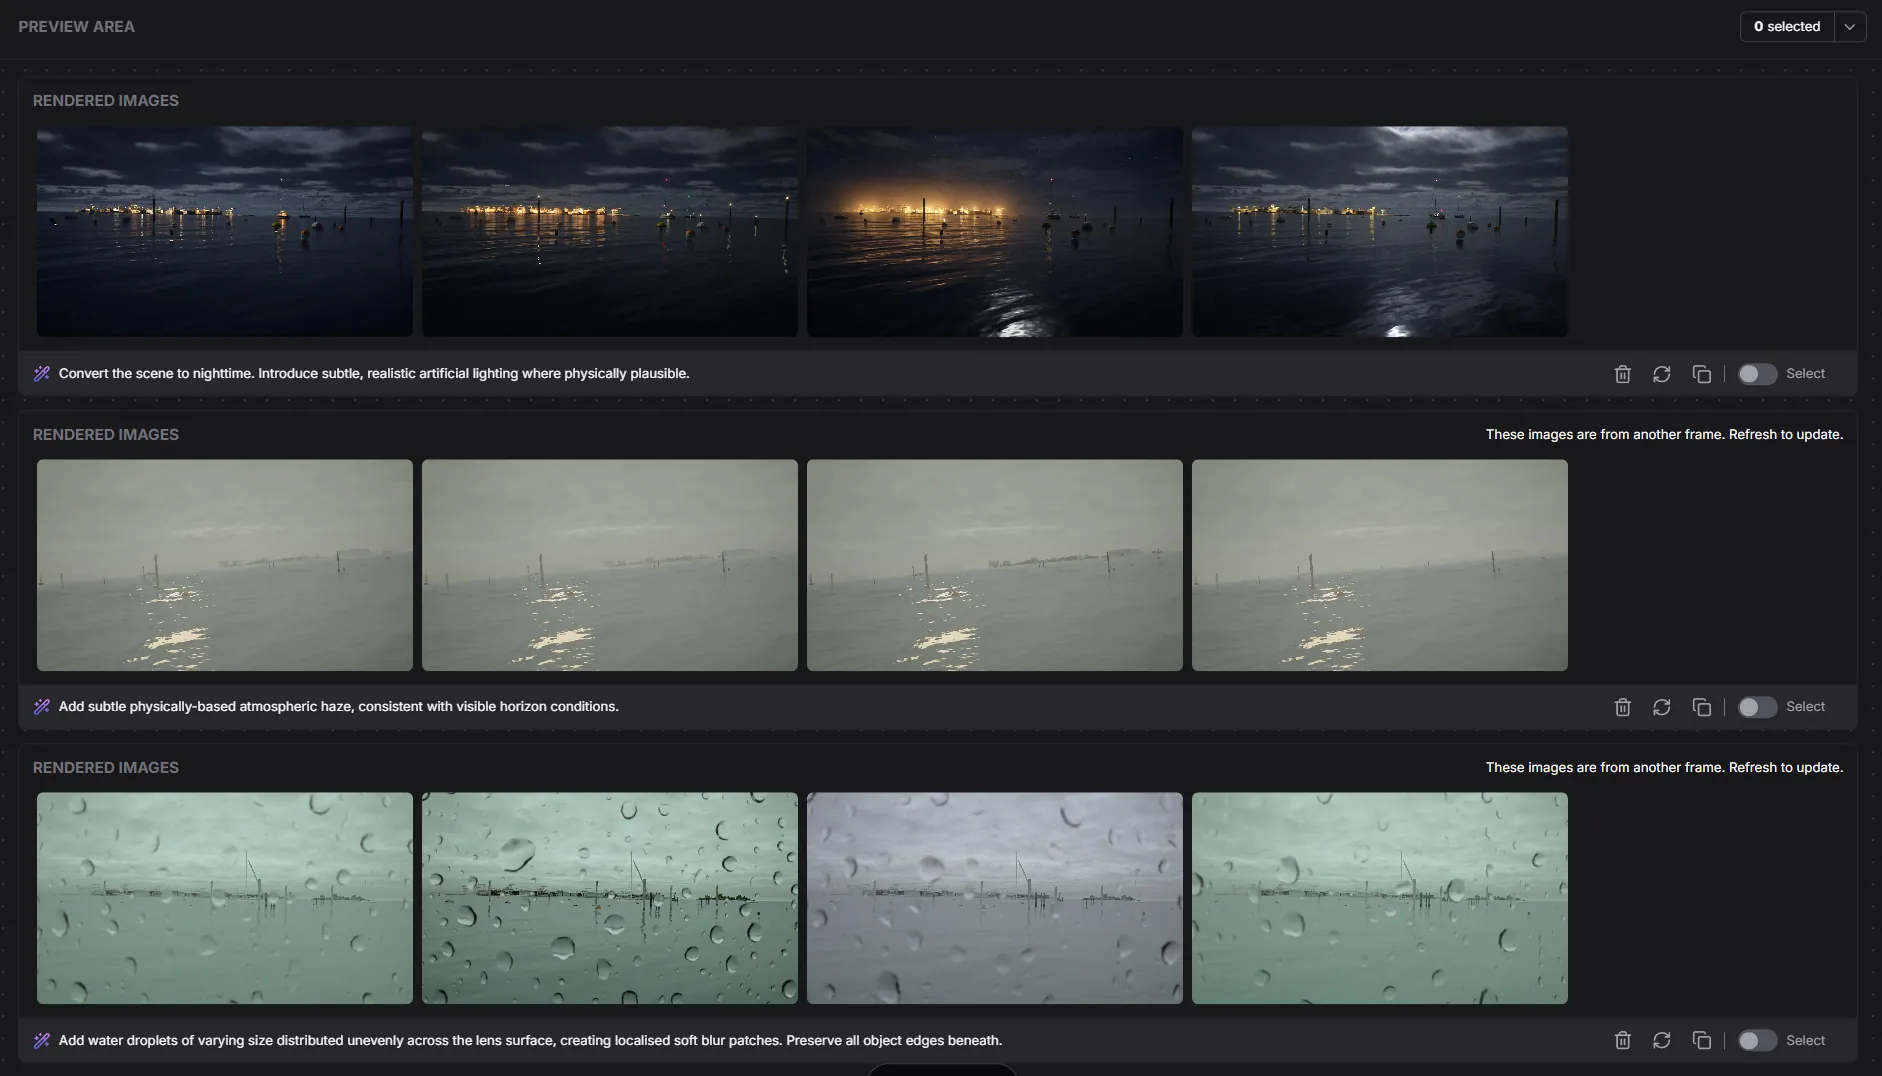
When a preview is generated, we run multiple generations on the same selected frame to test consistency. The previews predict the full run: if they are inconsistent, the final generation will vary too.
Note
Many factors affect consistency. Use the previews to iterate on your prompt until repeated generations look consistent before committing to a full generation.
Generating Collections
Once you are satisfied with your prompt previews, toggle Select on one or more prompts and click Start neural rendering. Each selected prompt generates a new collection.